There are about a million different pieces of ad/tracker blocking software out there, all with various pros and cons. The most common of these come in the form of browser extensions.
There are some great options out there, but there are certainly drawbacks to this extension approach. The biggest of these drawbacks is that you have to install the extension in all of your browsers on all of your computers for it to work across them all. Additionally, they tend to be completely useless when it comes to other devices, such as phones. This is where Pi-Hole comes in handy.
What is Pi-Hole?
I’m sure many of you are already at least vaguely familiar with what Pi-Hole is, but I’ll give you a quick run-down for the uninitiated.
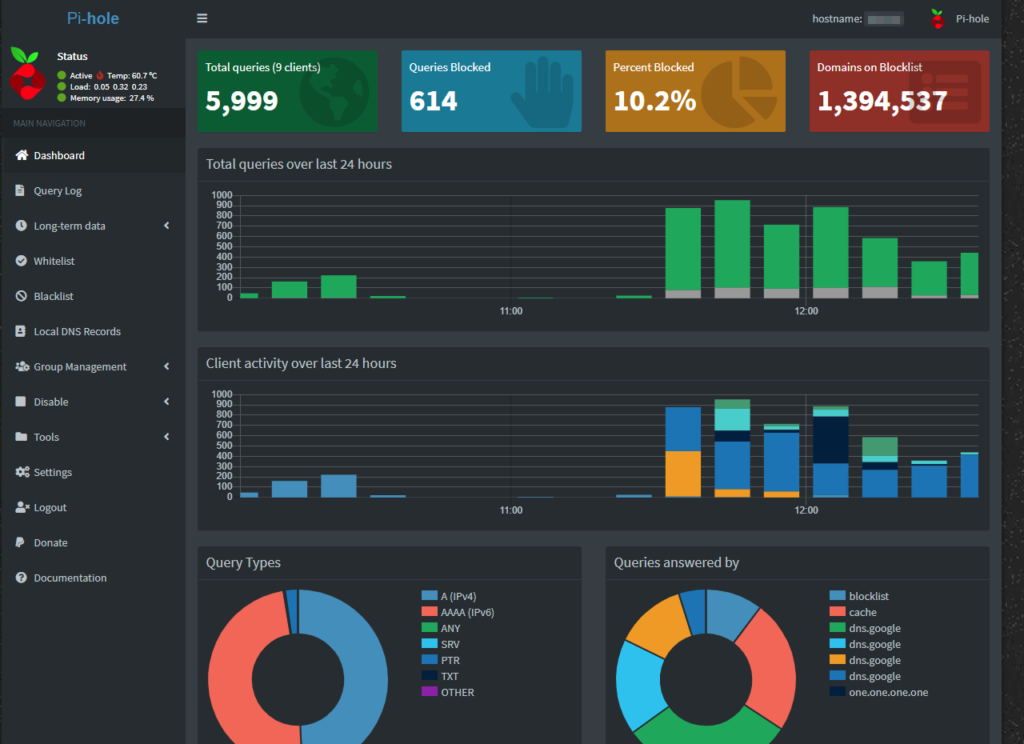
Pi-Hole is essentially just a DNS server that blackholes certain domains (like those associated with ad networks or trackers). By installing it on a device that’s on your network (like a Raspberry Pi) and setting your router to use that device as the primary DNS server you can have network wide blocking. In addition, you can use the Pi-Hole dashboard to include your own custom blocklists, view various statistics, and even use it as a DHCP server to make managing your network a bit easier.
NOTE: Having an adblocker installed in your browser is still worthwhile, even with Pi-Hole. Pi-Hole will block ads from loading, but won’t necessarily filter out the ads html elements on the webpage.
Have I sold you on the idea yet? If so, continue on to get a rundown of setting this thing up!
Set Up the Raspberry Pi
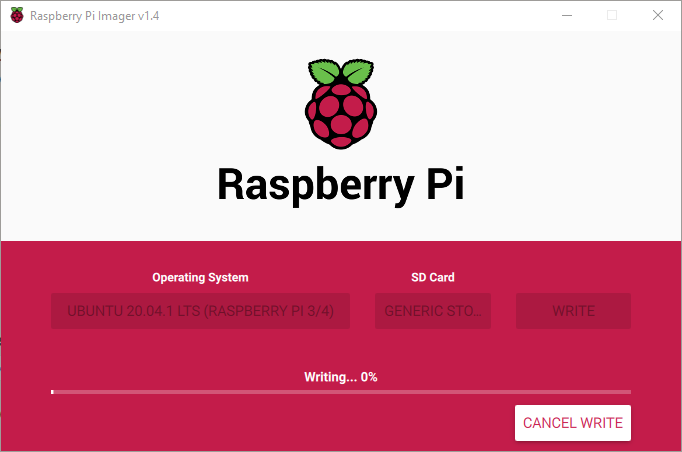
For my setup I am going to be running my Pi-Hole server on a Raspberry Pi 3. The first step will be to set up the raspberry pi with an operating system (I chose to use Ubuntu). This can be easily accomplished by using the Raspberry Pi Imager.
Once you get an operating system on your Pi you will need to go through the usual steps of setting up user accounts, SSH access, etc. Since this varies from OS to OS I will leave these steps up to you.
Installing Pi-Hole
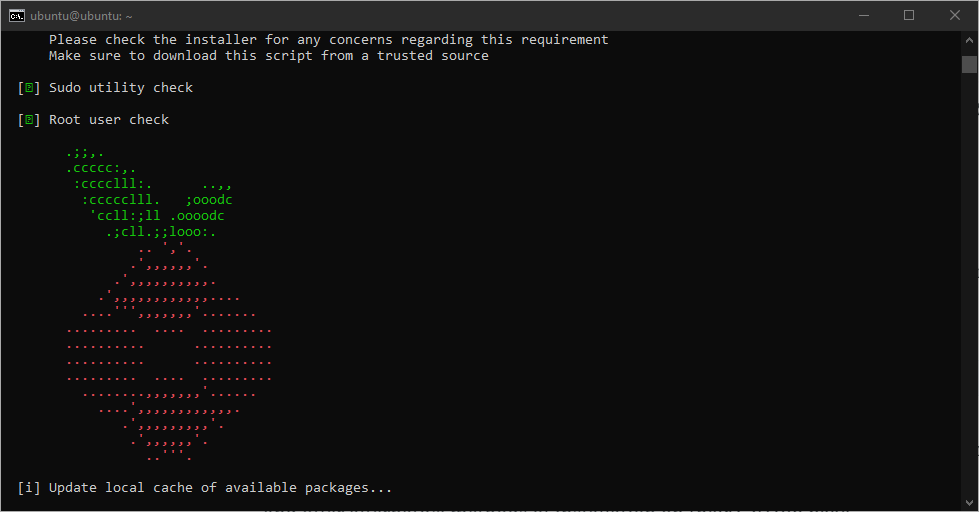
The developers of Pi-Hole have done a fantastic job of making getting things going extremely easy. The easiest way is to run the following command:
1curl -sSL https://install.pi-hole.net | bash
Now I know that the security conscious out there are cringing at the idea of piping a script off the internet directly into Bash. The developers took this into account and offer alternative methods of installation on their GitHub page.
NOTE: It’s also worth mentioning that you’ll want your Pi-Hole to have a static IP address!
Regardless of how you go about doing it, you’ll end up with a fresh install of the Pi-Hole software. You’ll get a confirmation screen confirming that the install was successful, along with information about how to access the admin interface (including a password for the interface).

Set Pi-Hole as the Default DNS Server
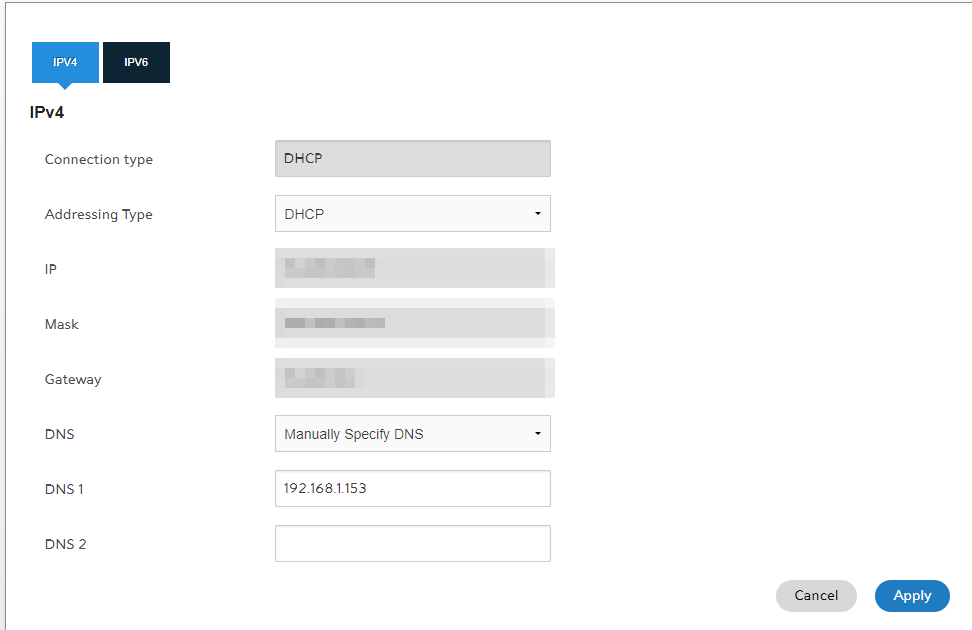
In order for the Pi-Hole to actually do it’s job you will of course need to set your devices to use it as its DNS server. You could, of course, do this on a device by device basis, but who wants to do that?!
Instead, go into your router and set it to use the Pi-Hole as the primary DNS server. Just like configuring the OS, this varies from device to device, so it’ll be up to you to figure out how to set this up on your specific router.
DNS Not Resolving?
With my particular router I was having issues getting my DNS to resolve correctly. I’m not 100% certain what the issue was, but I suspect that my router has rebinding protection enabled without exposing an option to disable it.
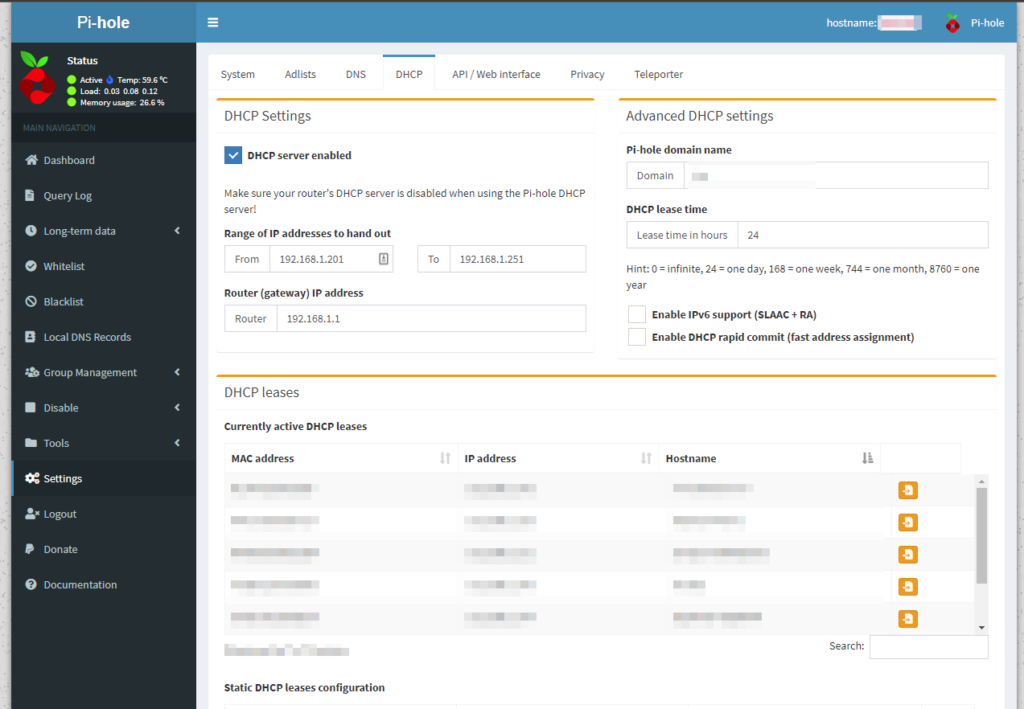
I was able to get around this problem by enabling the DHCP server within the Pi-Hole settings and then disabling my router’s built in DHCP server.
Adding More Blacklists
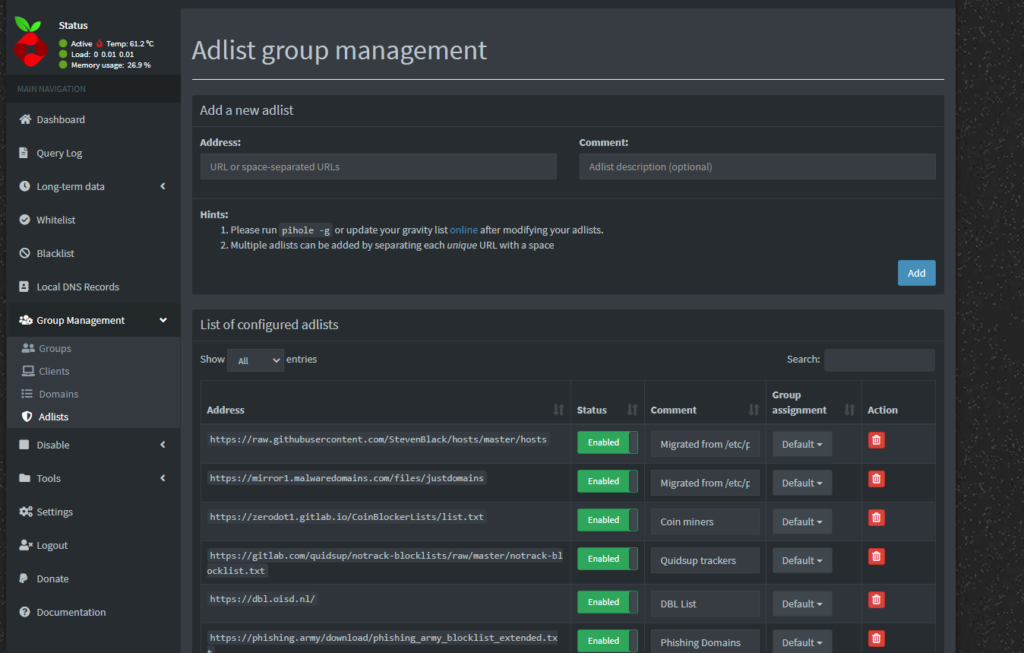
While the blacklists that are built into Pi-Hole by default are absolutely fantastic, you also have the ability to add your own lists. This can be done by going to Group Management -> Adlists in the Pi-Hole admin interface.
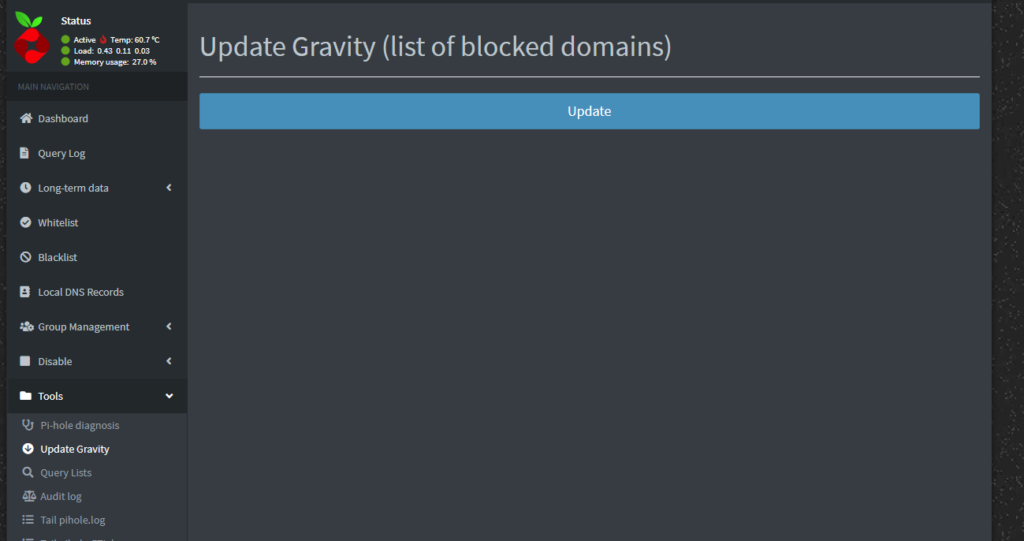
After you’ve added to these lists you’ll need to tell your Pi-Hole to update its lists. You can do this by going to Tools -> Update Gravity.
Here are some of the lists that I’ve added to mine:
- https://jasonhill.co.uk/pfsense/ytadblock.txt
- https://raw.githubusercontent.com/CHEF-KOCH/Canvas-fingerprinting-pages/master/Canvas.txt
- https://raw.githubusercontent.com/CHEF-KOCH/Audio-fingerprint-pages/master/AudioFp.txt
- https://phishing.army/download/phishing_army_blocklist_extended.txt
- https://dbl.oisd.nl/
- https://zerodot1.gitlab.io/CoinBlockerLists/list.txt
- https://gitlab.com/quidsup/notrack-blocklists/raw/master/notrack-blocklist.txt
NOTE: I will occasionally hit a false positive with these lists added. As such, be prepared to possibly need to add to your whitelist if you decide to aggressively add to your blacklists!
Enjoy the Benefits
After you go through this fairly straight-forward process you should be fully up and running with a functional Pi-Hole setup. Not only will you benefit from the privacy benefits of the blocking, but you’ll also get a great dashboard full of nifty statistics (this is amazing if you’re a nerd like me)!