In my previous tutorial, I outlined how to build the OpenCV 4 library on Microsoft Windows 10. In that tutorial, however, I did not mention how to use that library in an actual project. This time around I will be showing you how to create an OpenCV 4 project within Microsoft Visual Studio 2017.
Please note that I am going to assume that your OpenCV install is set up in the way I outlined in my previous tutorial. That is to say that the necessary files are located within an OpenCV folder in your C:\ drive. If this is not the case you’ll have to make some minor modifications to the steps outlined here to suit your setup.
Let’s get started!
Video Tutorial
Step 1: Add the OpenCV Directory to Your Path
The first thing we are going to do is edit the PATH variable on Windows to include the directory containing our OpenCV files. This will make it so we don’t have to copy any of the OpenCV DLLs into our project.
First, open up the start menu and start typing environment variables. An option should appear called Edit environment variables for your account. Click that.
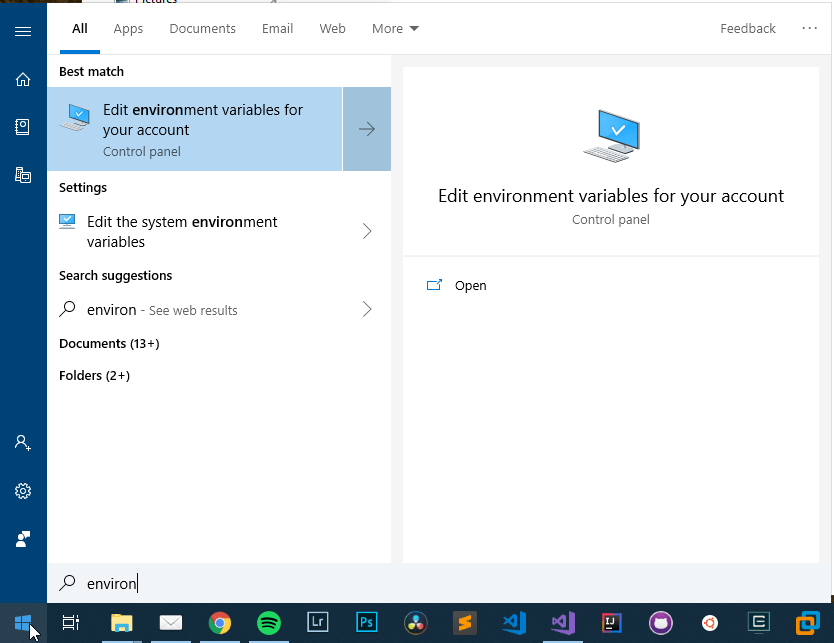
In the dialog that opens, double click the Path item, which will in turn open another dialog. In this new dialog, click the Browse… button and browse to the folder containing your OpenCV files. Within that directory, you want to find the bin folder for your architecture. In my case, these files are in C:\OpenCV4\x64\vc15\bin.
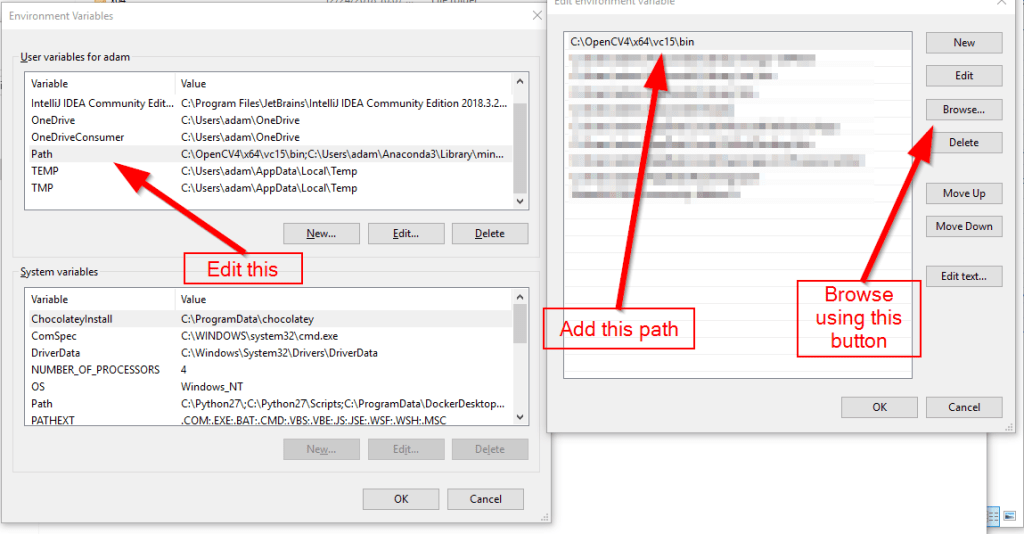
Once you are finished, click OK on both of those dialogs.
Step 2: Create a Visual Studio Project
NOTE: This is the only part that is significantly different when using Visual Studio 2019 instead of Visual Studio 2017. With that being said, I think the new interface for doing this is straightforward enough that I don’t need to go into extended details on the differences.
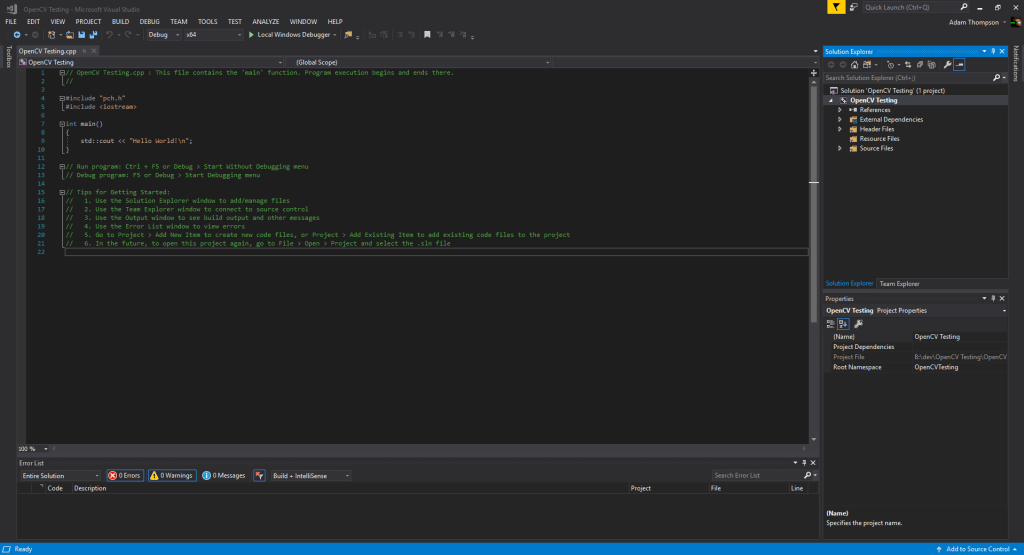
With the OpenCV files now in our Path, we are ready to start setting up the project. Open up Visual Studio and go to File->New->Project. Within the new project wizard, we are going to create a Windows C++ console application. I’ll call my OpenCV Testing.

Once you create the project you’ll be greeted with a standard, boilerplate console app.
Step 3: Add Your Build Dependencies
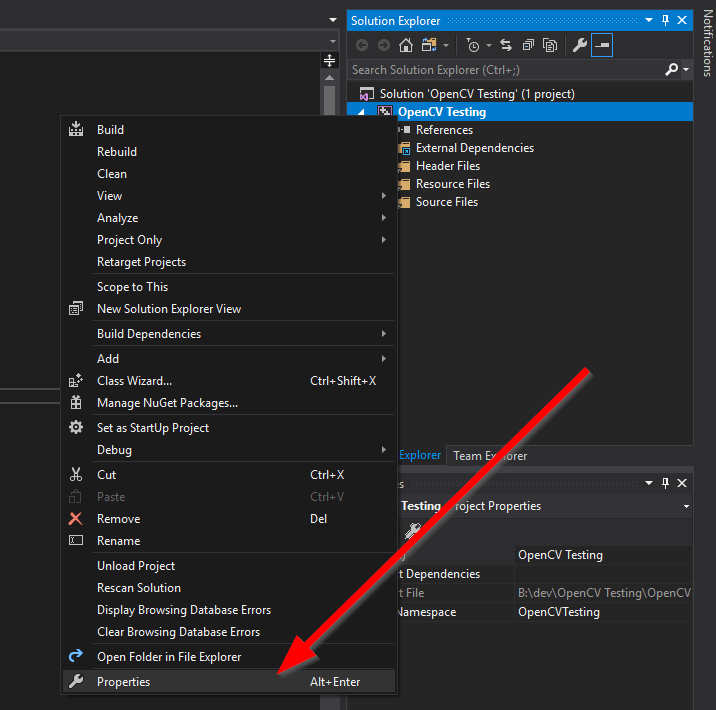
Now we’ve got a C++ project setup in Visual Studio, but we still need to tell VS where it can locate all of the OpenCV dependencies. To get started, right-click on your project in the solution explorer and choose Properties.
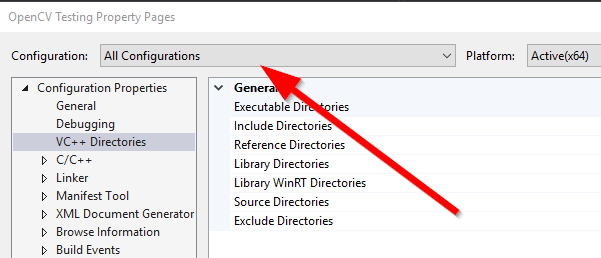
There are several things that we need to adjust in here. To start with, though, make sure you are set to be editing the settings for All Configurations.
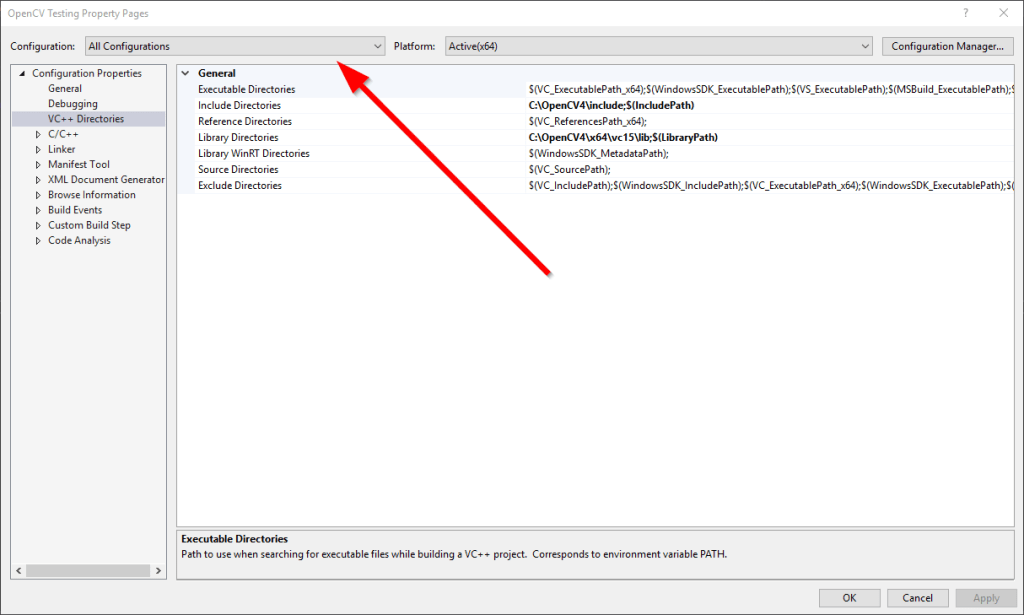
VC++ Directories
On the right-hand side, go to the VC++ Directories section. First, we need to tell Visual Studio to include the header files for the OpenCV library. To do this, edit the Include Directories entry.

This will open another dialog where you can edit this setting. In here, click the button to add a new folder and browse for the include directory in the folder containing your OpenCV files. In my case, this is at C:\OpenCV4\include.
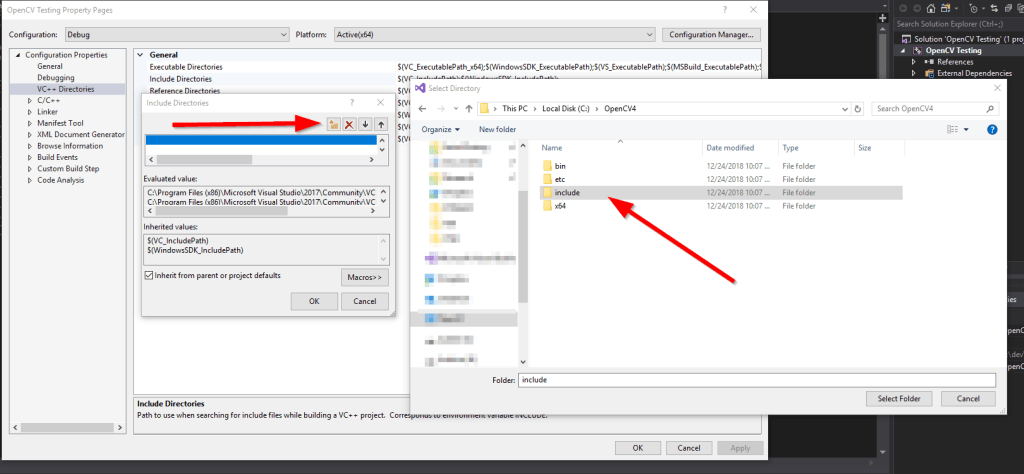
Once you have added the include directory just hit OK.
Next, we need to add the library path by editing the Library Directories entry. Set this to the lib folder, located in the directory containing your platform’s build of OpenCV. In my case, this is at C:\OpenCV4\x64\vc15\lib.

Linker –> Input
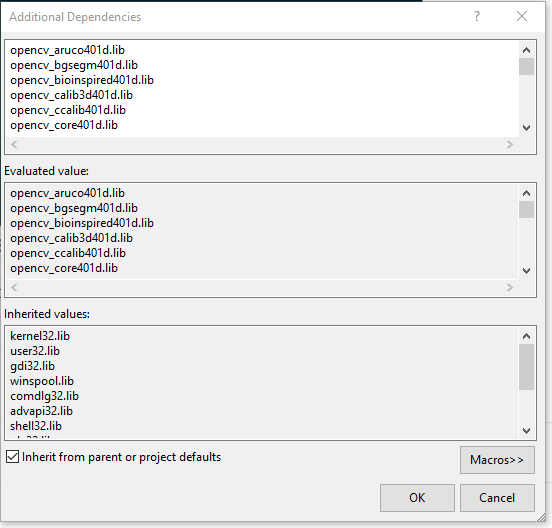
Now we need to configure the linker. First, select the Linker –> Input section. We are going to edit the Additional Dependencies entry to point to the library files. We will be adding all of the library files within the library directory we linked in the above step.
Note that, for these settings, we will need different values for the debug and release configurations. You can change between the two using the drop-down at the top of the properties dialog.
Debug
For the debug configuration we want to add all of the libraries that have a d at the end of their name (the d stands for debug). Since this can be tedious, an easy way to do this is to use the following command in a command prompt window:
1dir /w *d.lib > debugLibs.txt
Doing so will save a text file, named debugLibs.txt, within the directory. You can then copy the library names from here to make your life a little easier.
Release
We want to do the exact same thing for the release configuration, but this time we want all of the libraries that don’t have a d at the end of the name. You can quickly get these by using the same text file you used in the Debug release step, but use the find and replace tool to remove the trailing d characters.
Step 4: Test Everything Out
If we did everything correctly we should now be able to build a simple OpenCV application to test everything out. I will be using the following, very simple, OpenCV application to test things out.
 1#include "pch.h"
 2#include <opencv2/opencv.hpp>
 3using namespace cv;
 4int main()
 5{
 6    VideoCapture cap(0);
 7    if (!cap.isOpened())
 8        return -1;
 9    for (;;)
10    {
11        Mat frame;
12        cap >> frame; // Capture a frame from the webcam
13        imshow("Frame", frame);
14        if (waitKey(30) >= 0)
15            break;
16    }
17    return 0;
18}
All this program does is display a video feed from a webcam. If we did everything correctly we should be able to run the application and see video from the webcam.
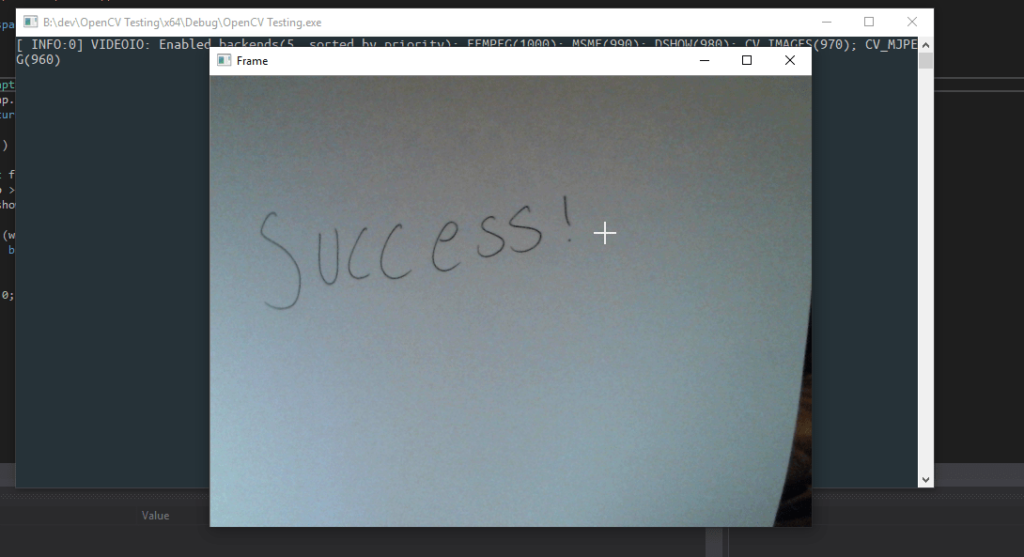
And, as you can see, everything builds and runs correctly, which means that we successfully set everything up correctly! Note that you should be sure to test both your debug and your release builds!
Luckily, this process is much more straightforward than the process of building OpenCV!